Introduction
Picture this: you need to create a node-based visual editor in Flutter - think Blender's shader nodes or Unreal's Blueprints system. You type "Flutter Node Editor" or "Flutter Visual Scripting" and find… promising yet abandoned GitHub repos.
This is exactly where I found myself six months ago while developing my local LLM app. What started as a simple experiment became a full-featured visual programming tool that pushed Flutter into uncharted territory.
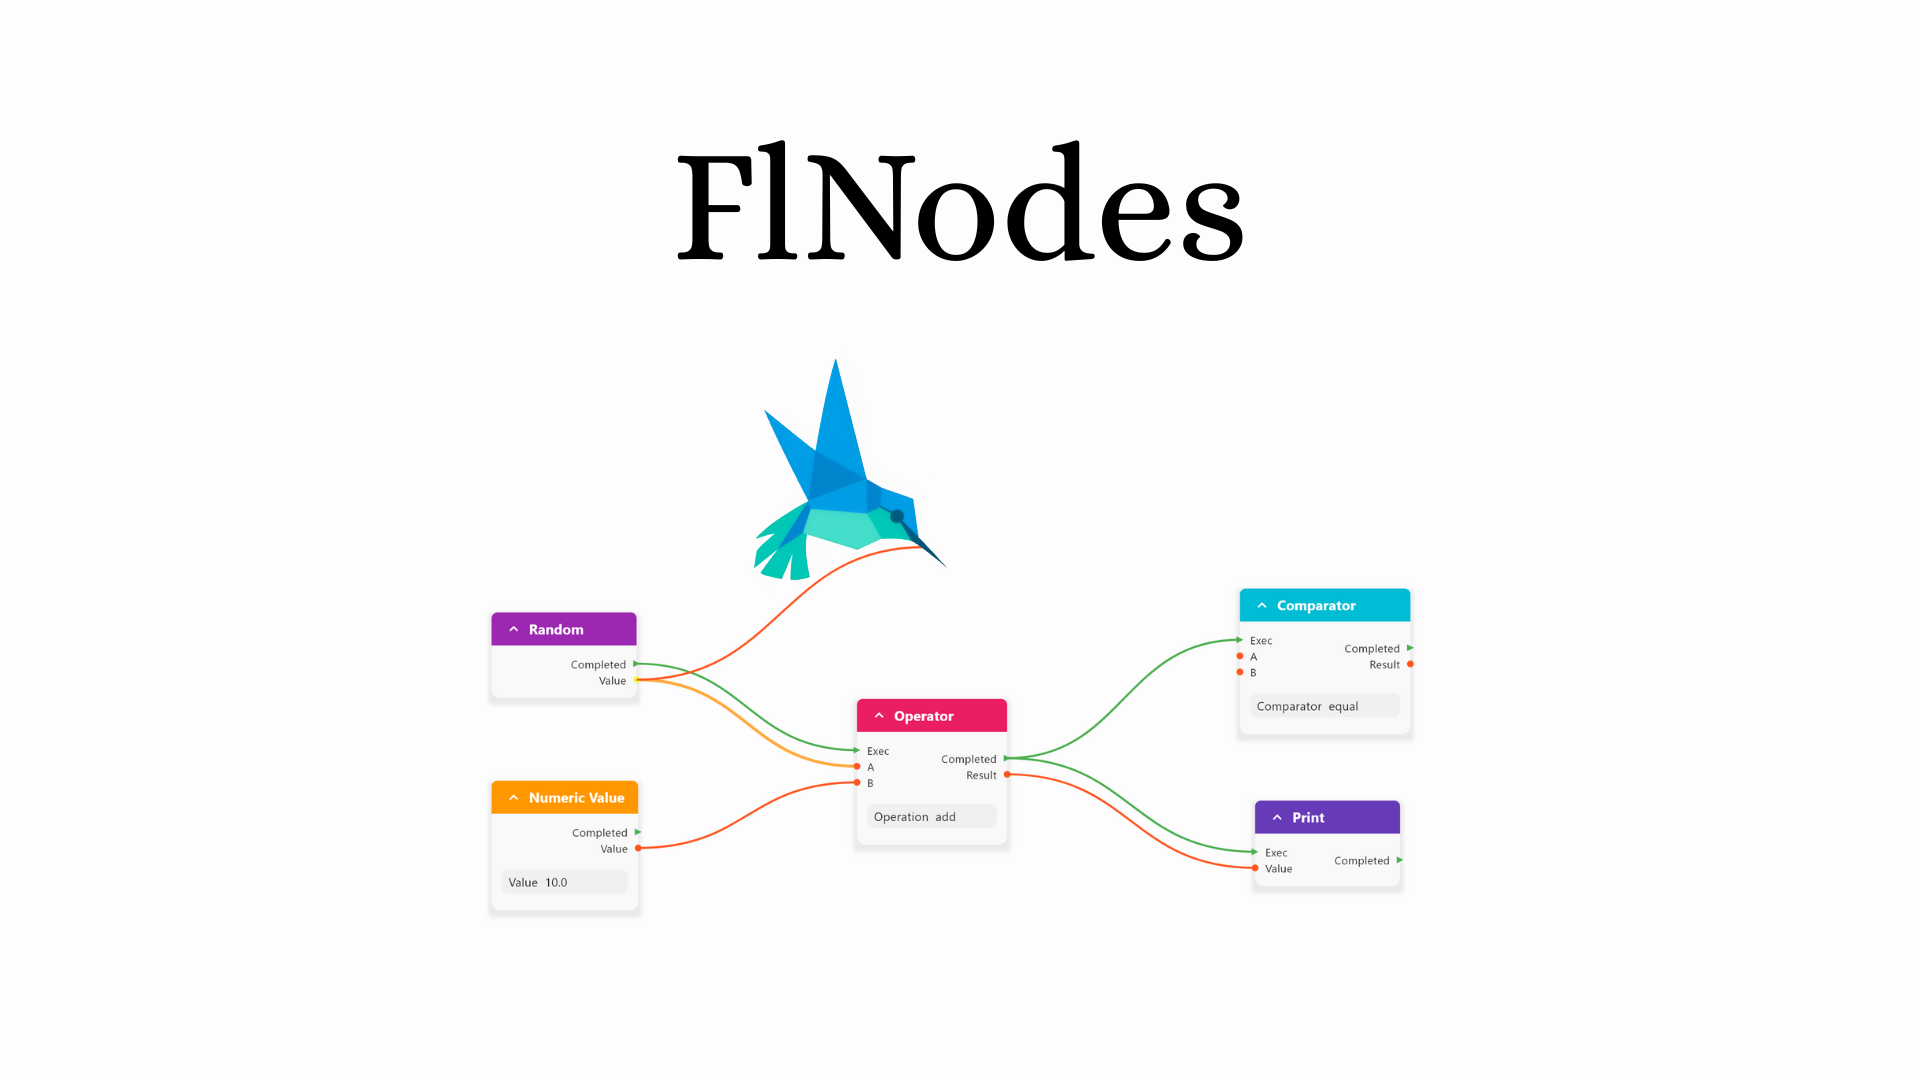
My name is William (or Wilielmus online) and this, is how I built FlNodes.
A Different Perspective
I'm 18 and I've been tinkering with code since I was 13, starting with game development. This has given me an unusual perspective on FlNodes development.
Game engines solve problems that mobile apps rarely face: real-time rendering, complex input systems, and performance at 60+ FPS with thousands of interactive elements. Yet many of these solutions translate beautifully to Flutter - if you know where to look.
About The Project
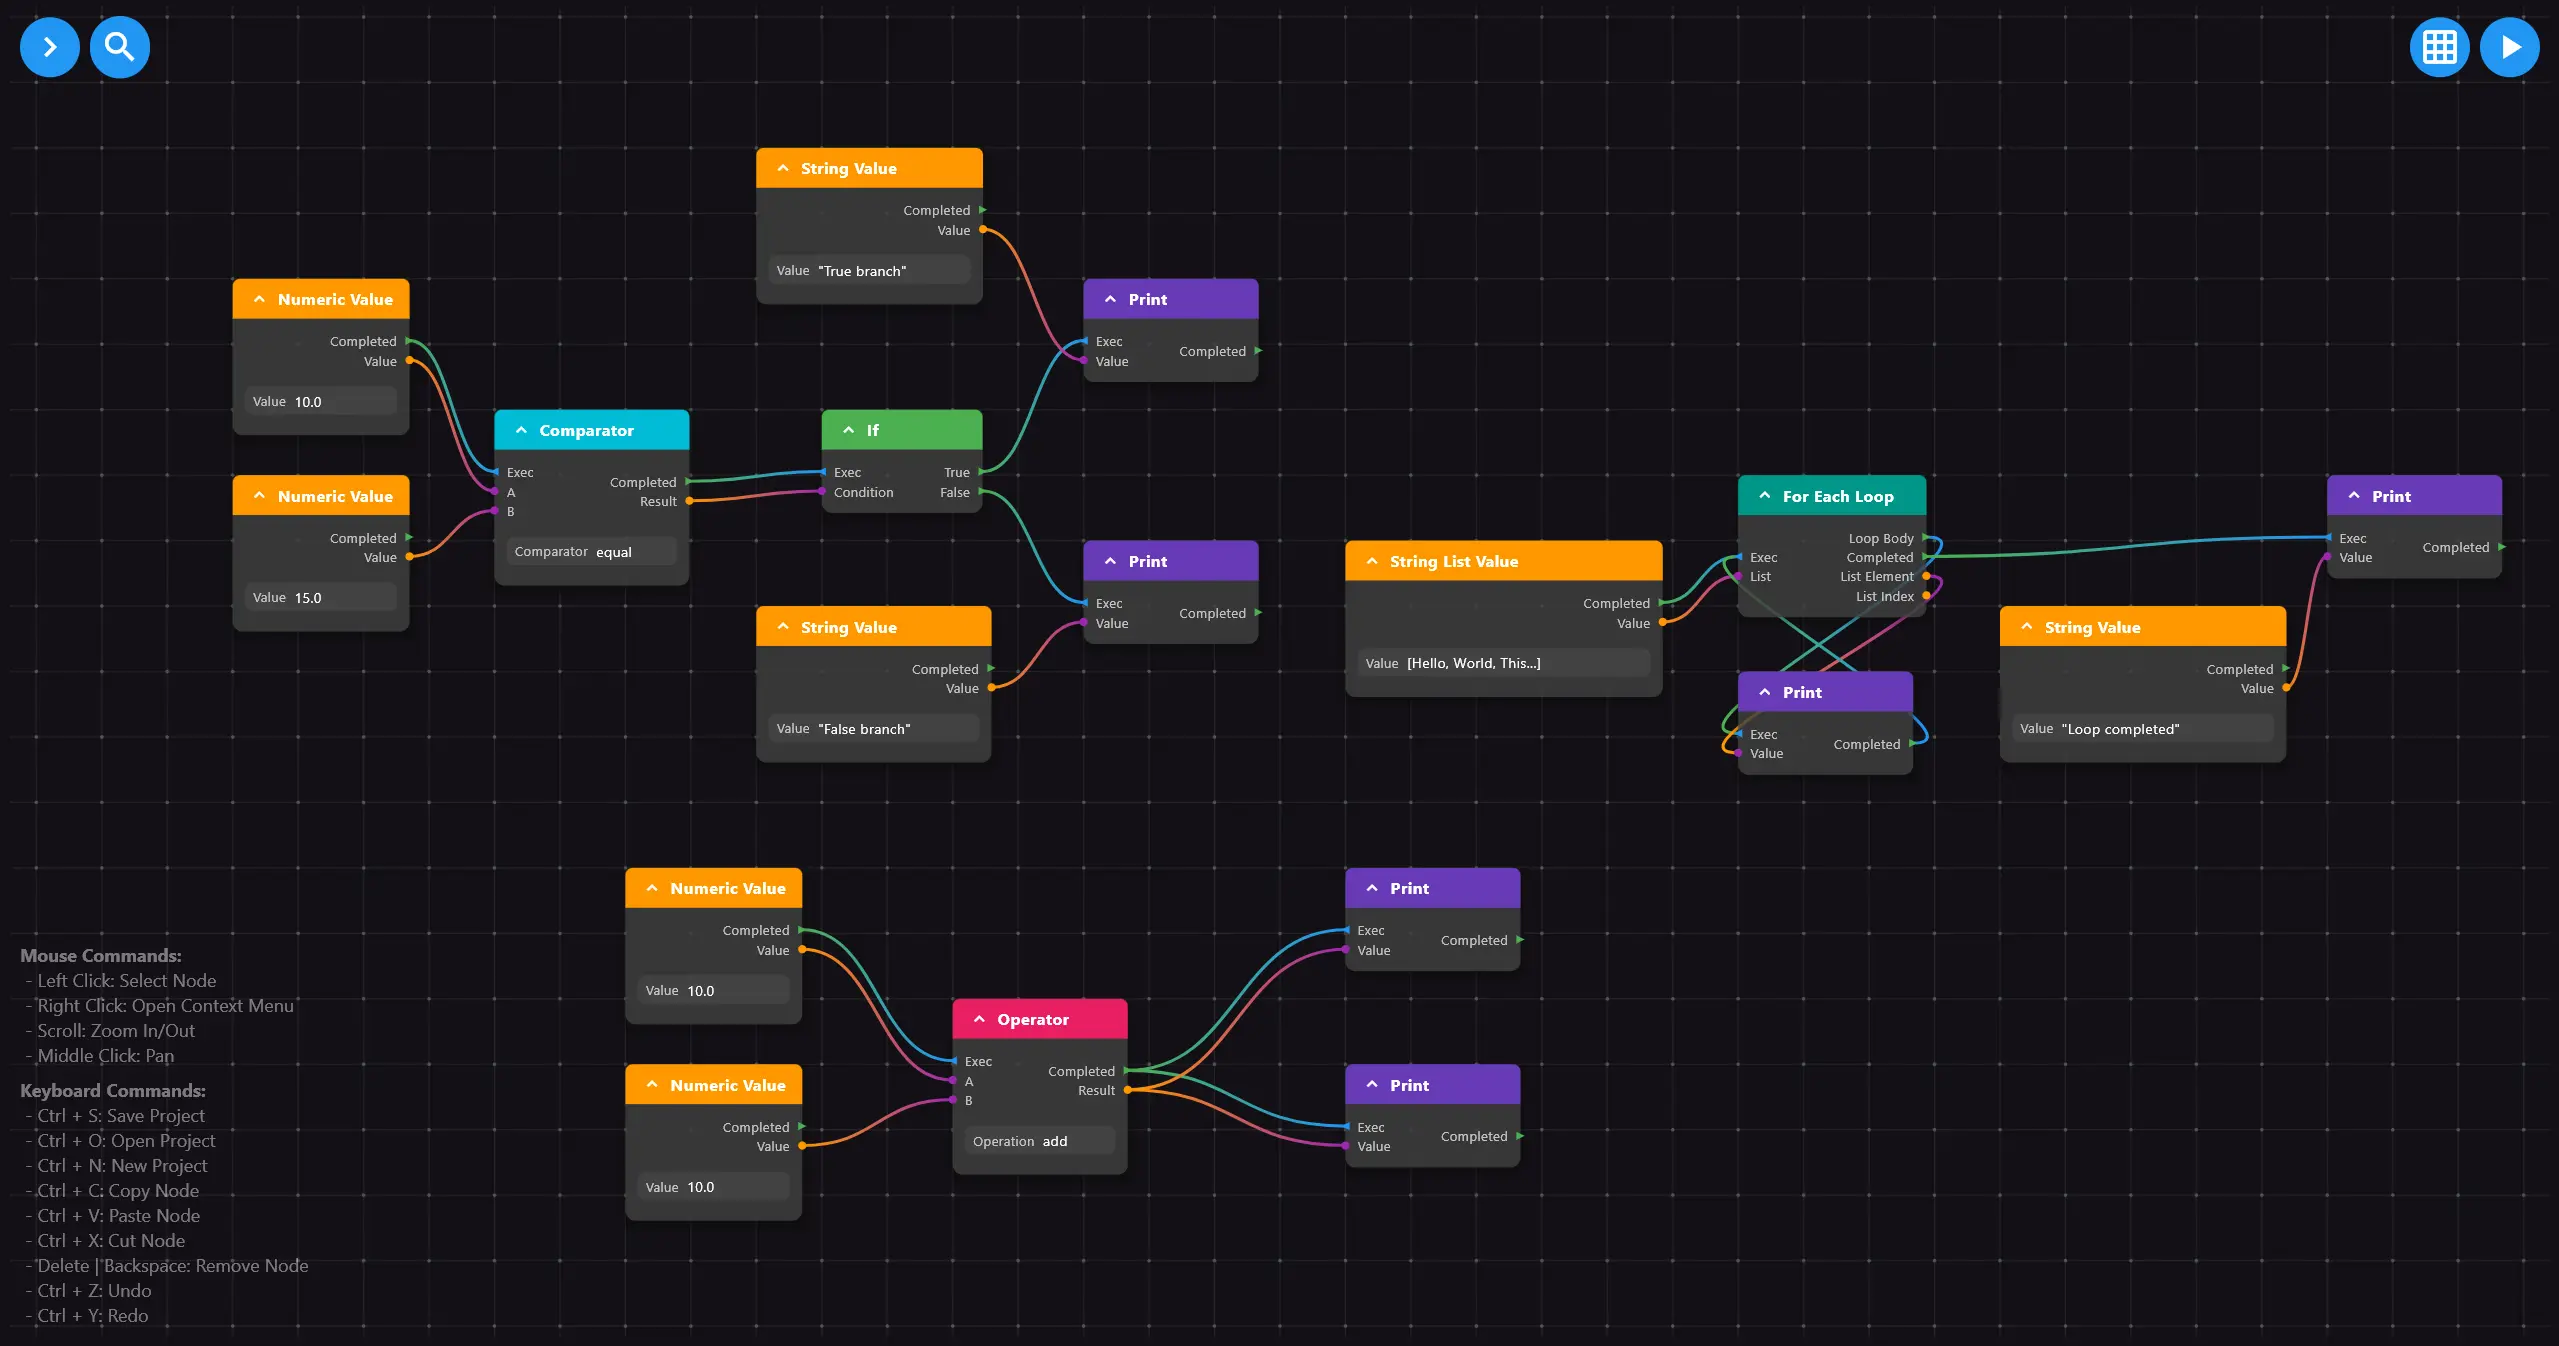
FlNodes isn't an experimental niche package. With 100+ GitHub stars and growing community interest, it delivers features that rival established node editors in other ecosystems. It aims to be an extremely flexible, extensible, performant, and feature-rich node-based UI framework. Visual scripting isn't its only cup of tea - it's designed to handle mind maps, flow graphs, data visualization, and any other node-based interface you can imagine, all while being easily serializable and dependency-light.
The technical challenges were many. Flutter's widget system excels at UI layouts, but visual programming editors need pixel-perfect control, custom hit testing, and rendering performance that scales with complexity.
What You'll Learn
This isn't your usual Flutter post. In the following paragraphs you'll learn how to effectively make use of the following techniques in the context of custom render objects and complex widget hierarchies:
GLSL shaders - Completely offload work to the GPU
Caching - Don't recalculate what hasn't changed.
Batching - Group similar operations together.
Culling - Don't process what users can't see.
Level Of Detail (LOD) - Scale render complexity with zoom level.
Complex hit testing - Pushing interactivity beyond widgets.
These aren't just node editor techniques - they apply to any Flutter app that needs to go beyond standard widgets. Whether you're building data visualizations, creative tools, or interactive experiences, you'll find approaches here that expand what you thought possible in Flutter.
But big ideas are one thing - implementing them efficiently in Flutter is another. My first real test came when I had to choose how to render and manage hundreds of interactive nodes on a smooth, zoomable canvas. That's when I stumbled across a key insight that changed everything.
The Revelation of MultiChildRenderObjectWidget
Most node editors I'd studied took the obvious approach: Positioned widgets floating on top of a custom canvas. This has immediate appeal - you get all of Flutter's widget machinery for free, from text rendering to gesture handling. But it was in direct conflict with my infinite-scrolling canvas objective. Positioned widgets assume a bounded coordinate system, and managing hundreds of them with complex transformations would be a performance nightmare.
The breakthrough came from an unexpected source: Nabil Mosharraf Hossain's Medium post "Things I learned while developing Flutter GraphView widget with MultiChildRenderObject".
The key insight was MultiChildRenderObjectWidget - an incredibly powerful but underutilized class that serves as the foundation for widgets like Stack, Flex, and Wrap.
With MultiChildRenderObjectWidget, you're not just drawing pixels on a canvas - you're becoming Flutter's layout engine for your custom widget tree. You can:
Position child widgets anywhere - in your coordinate space, ignoring traditional layout constraints.
Paint custom graphics alongside widgets - in the same render pass.
Implement complex hit testing - that accounts for both your custom drawing and child widgets.
Here's the fundamental difference: instead of choosing between "custom painting" or "widget composition," you get both. Your nodes can be full Flutter widgets with text, buttons, and complex layouts, while your canvas can still draw connections, handles, and interactive elements with pixel-perfect control.
Setting up the MultiChildRenderObjectWidget was surprisingly approachable - Flutter's architecture guides you through the essential methods.
Layout flexibility was only part of the equation. To truly scale, I needed a way to keep performance high as node counts grew. Rendering everything, all the time, just wasn't going to cut it - so I turned to a trick I'd learned from game development.
The Visibility System
The Spatial Hash Grid
This technique offers a way to quickly find objects in 2D space without checking every single one. Instead of testing hundreds of nodes for visibility or hit detection, you divide your canvas into a grid of cells and only check objects in relevant cells.
The concept is elegantly simple: divide your infinite canvas into uniform grid cells, then assign each node to the cells it occupies. When you need to find nodes in a specific area (like the current viewport), you only examine the cells that intersect with that area. Instead of checking every node in your graph, you're checking a small subset.
In FlNodes, the spatial hash grid serves double duty. For visibility culling, it instantly identifies which nodes might be visible without expensive bounds checking on the entire node collection. For input management, it dramatically reduces hit testing overhead - when you click somewhere, the system only tests nodes in that grid cell rather than every interactive element on the canvas.
The performance improvement scales with graph complexity. With a dozen nodes, the difference is negligible. With hundreds or thousands of nodes, it's the difference between smooth interaction and noticeable lag. The grid adapts dynamically to your content - cells are only created when needed, and the cell size can be tuned based on your typical node density.
The Problem With Links
Links present a unique visibility challenge that can't be solved by simply reusing the already computed visible nodes. The naive approach would be to collect all visible nodes, then render their connections. But this creates a critical flaw: links that cross your viewport but whose source and destination nodes are outside the visible area would disappear entirely.
Picture a large graph where you're zoomed in on the middle section. A connection might arc across your view, providing crucial context about data flow, even though both endpoints are offscreen. Users expect to see this connection - it's part of understanding the graph structure. Losing these crossing links breaks the visual continuity that makes node editors intuitive.
The solution I chose prioritizes simplicity over theoretical optimization. Instead of implementing complex path visibility testing (which would require checking if Bézier curves intersect with the viewport rectangle), FlNodes paints all links whose bounding boxes overlap the current view. This means occasionally rendering technically invisible links, but the performance cost is minimal compared to the complexity of precise curve-viewport intersection testing.
With visibility and hit detection under control, the next bottleneck was rendering itself. Flutter is fast - but not fast enough to brute-force thousands of custom draw calls every frame. This is where GPU shaders and batching came into play.
Rendering Techniques
The Fragment Shader
Instead of thousands of individual draw calls, the GPU could generate the entire grid pattern in parallel across every pixel. The math was straightforward: given screen coordinates, zoom level, and offset, calculate whether this pixel should be part of a grid line or dot.
// grid.frag – Draws infinite background grid (not the actual shader code)

#version 460 core
precision highp float;

// Uniforms - values passed from the application
uniform float uGridSpacing;     // Distance between grid lines
uniform float uLineWidth;       // Width of grid lines
uniform vec4 uLineColor;        // Color of grid lines
uniform vec4 uBackgroundColor;  // Background color

out vec4 fragColor;

void main() {
    // Get the current pixel position
    vec2 pos = gl_FragCoord.xy;

    // Calculate distance to nearest grid lines
    // mod() gives us the remainder when dividing by grid spacing
    vec2 grid = mod(pos, uGridSpacing);

    // Find the minimum distance to either a horizontal or vertical line
    // This creates the grid pattern
    float distToLine = min(grid.x, grid.y);
    distToLine = min(distToLine, uGridSpacing - grid.x);
    distToLine = min(distToLine, uGridSpacing - grid.y);

    // Create a sharp line by checking if we're within line width
    float lineStrength = step(distToLine, uLineWidth * 0.5);

    // Mix between background and line color based on line strength
    fragColor = mix(uBackgroundColor, uLineColor, lineStrength);
}
While this grid example uses relatively simple data (just zoom and offset parameters), it's worth noting that modern graphics APIs like Vulkan and DirectX 12 place virtually no limitations on the complexity of data you can pass to shaders. You could theoretically push entire node graphs, connection data, or complex state directly to the GPU. However, there's wisdom in keeping shader data simple when possible - simpler inputs mean easier debugging, better maintainability, and often better performance.
Flutter's new flutter_gpu API is particularly interesting here. While I haven't fully explored its capabilities yet, it promises more direct GPU access that could potentially move more of FlNodes' rendering pipeline onto the GPU.
Draw Calls Batching
Every time you tell the GPU to draw something - whether it's a circle, line, or complex path - that's a draw call. And draw calls are expensive, not because of the actual drawing, but because of the overhead. Each call requires CPU-GPU communication, state changes, and pipeline setup. When you have hundreds of nodes, each with multiple ports and connections, you're looking at thousands of individual draw calls per frame.
The solution is batching: instead of making separate draw calls for each port, connection, or UI element, you compose multiple shapes into a single path and draw them all at once. In FlNodes, this means collecting all port circles across visible nodes into one compound path, all connection curves into another, and all node borders into a third.
The performance difference is dramatic. Where hundreds of individual canvas.drawCircle() calls might cause frame drops, a single canvas.drawPath() containing hundreds of circles maintains smooth 60 FPS. The GPU doesn't care if you're drawing one circle or a hundred - it's optimized for parallel processing. What it cares about is how many times you interrupt it with new instructions.
Implementing batching required rethinking how FlNodes approaches rendering. Instead of each node painting itself independently, the main render object now collects drawable elements from all visible nodes, groups them by type (ports, connections, borders), and batches them into efficient draw operations. It's more complex to manage, but the performance gains make it essential for any node editor handling substantial graphs.
Level Of Detail (LOD)
Level of detail is a technique borrowed from game engines: render less complex versions of objects when they're far away or small on screen. Users can't perceive fine details when zoomed out anyway, so why waste resources rendering them?
In FlNodes, LOD is implemented as a simple function of the current zoom level that returns a corresponding detail level. As you zoom out, the system progressively simplifies the rendering:
At high zoom, nodes render with full fidelity - rounded corners, shadows, detailed port graphics, and proper transparency blending. As you zoom out to medium levels, rounded corners become sharp rectangles, ports and shadows disappear, and transparency is bypassed entirely.
The transparency optimization is particularly clever: instead of expensive alpha blending operations, FlNodes pre-calculates what color a semi-transparent node would appear against the background and renders it as an opaque color. The visual result is nearly identical, but the performance impact is significantly reduced.
This isn't just about performance - it's about usability. When viewing a large graph from a distance, visual noise from excessive detail hurts comprehension. LOD ensures that at every zoom level, you see exactly the right amount of information: detailed when you need it, simplified when you don't.
But fast rendering isn't enough. Node editors live and die by how interactive they feel - especially when users expect to drag, select, and manipulate custom elements like connections. And here's where Flutter's traditional hit testing model started to fall short.
Pushing Interactivity Beyond Widgets
Making node links interactive required pushing beyond Flutter's traditional widget-based hit testing. Links aren't widgets - they're paths drawn directly on the canvas during the render process. Yet users expect to click on them, select them, and interact with them just like any other UI element.
The solution involved overriding the handleEvent method in my render object and cleverly reusing work from the batching system discussed earlier. Remember how we composed all link paths into batched draw calls for performance? Instead of discarding those paths after rendering, I modified the batching code to store them for reuse in hit testing.
When a click event is received, the hit testing process works in two stages. First, we create a small rectangle at the click offset and perform broad-phase collision detection by intersecting it with the bounding boxes of all visible links. This quickly eliminates the majority of links that are nowhere near the click point.
For the remaining candidates - typically just a handful - we perform pixel-perfect hit testing using Flutter's built-in Path functionality. Flutter makes this remarkably easy: the Path.contains() method handles all the complex mathematics of determining whether a point lies within or sufficiently close to a curved path.
The beauty of this approach is its efficiency. Instead of testing every link against every click (which would be O(n) complexity), we get close to O(1) performance for most interactions. The bounding box pre-filtering eliminates the vast majority of unnecessary tests, while the precise path testing ensures users can click exactly where they expect to.
This technique extends beyond links - any custom-drawn interactive element can use the same pattern. Store your paths during rendering, use bounding boxes for broad-phase detection, then leverage Flutter's Path utilities for precise hit testing. It's a powerful way to make complex custom graphics feel as responsive as traditional widgets.
Final Notes
Building FlNodes has been one of the most challenging - and most rewarding - projects I've ever worked on. Every problem solved opened up a new creative possibility, and every limitation pushed me to learn something new. I genuinely loved building this.
To the FlNodes users patiently waiting for version 1.0: I haven't forgotten you. I know I said June 30th- progress has been slower than planned these past few days (i.e. I got distracted with other projects). But this project still matters deeply to me, and I'm excited to bring it across the finish line soon. Thanks for your support and understanding.
Thanks for reading to the end.
If you found this valuable, I'd be incredibly grateful for a like, a comment, or even a follow - it helps a lot and keeps me motivated to share more.
You can explore more or stay in touch here: